AUDUSD, “Australian Dollar vs US Dollar”
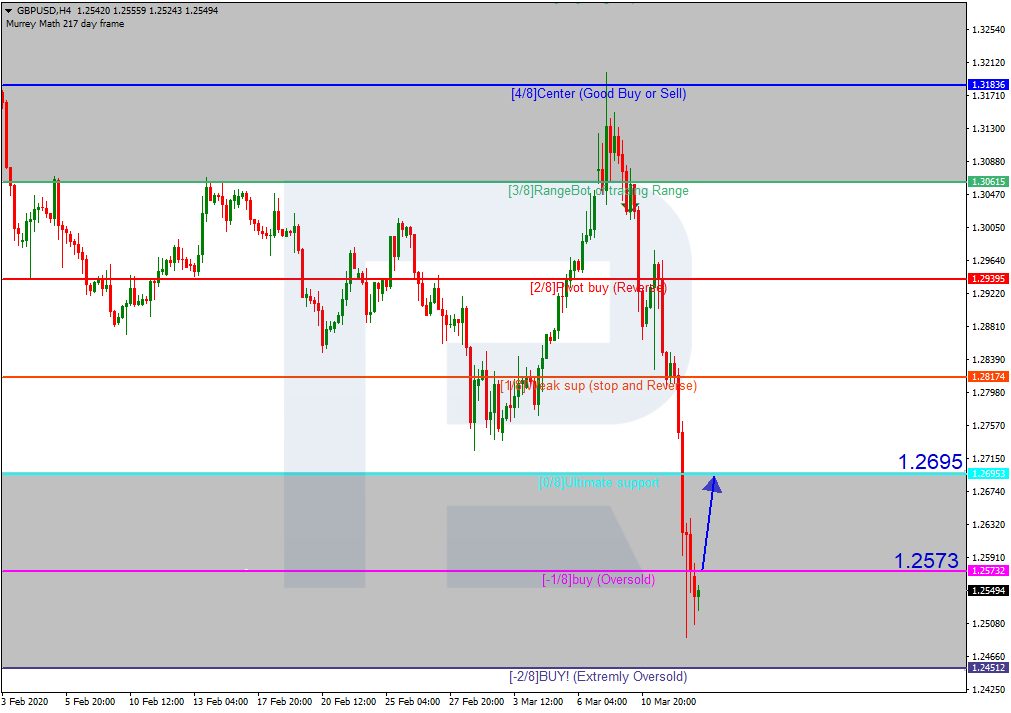
As we can see in the H4 chart, yesterday AUDUSD rebounded from the support at the 0/8 level, which means that investors are ready to buy the Aussie. If later the pair breaks the 3/8 level, it may continue growing to reach the resistance at the 5/8 one. However, this scenario may be cancelled if the instrument rebounds from the 3/8 level. In this case, it may resume falling towards the support at the 1/8 one.


In the H1 chart, the scenario is quite similar. Right now, the pair is trading above the 5/8 level and may continue moving upwards to reach the 8/8 one.
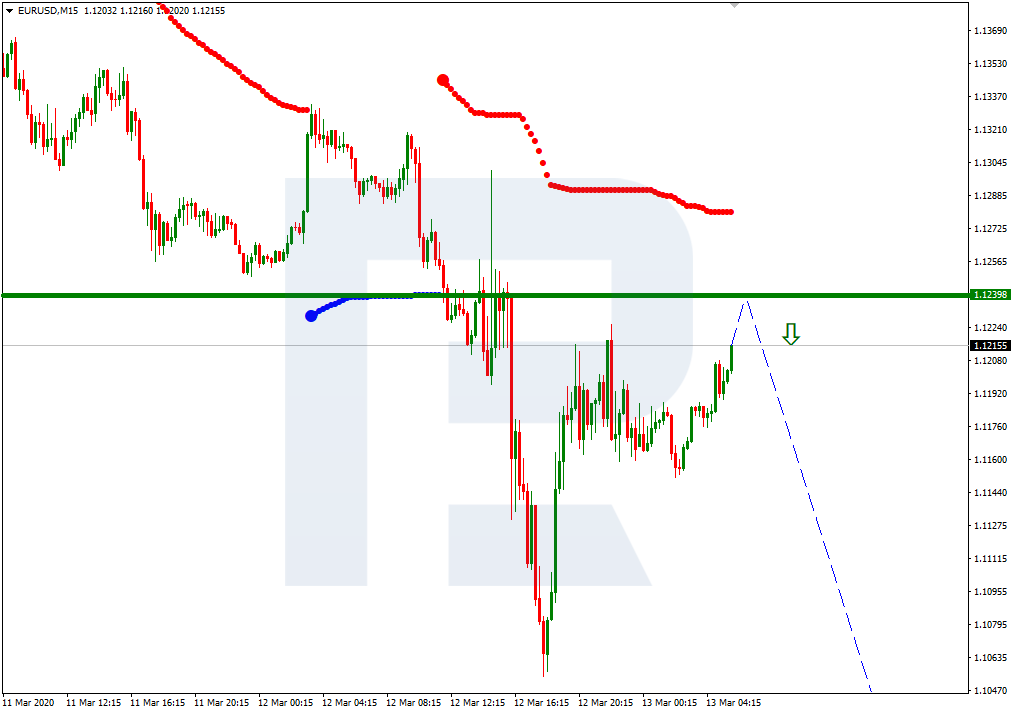
As we can see in the M15 chart, the pair has broken the upside line of the VoltyChannel indicator and, as a result, may continue trading upwards.
NZDUSD, “New Zealand Dollar vs US Dollar”
In the H4 chart, NZDUSD is consolidating close to the 5/8 level and may continue growing. If the pair breaks this level, the price may reach the resistance at the 8/8 one. However, this scenario may be cancelled if the instrument breaks the 4/8 level. In this case, the pair may continue consolidating towards the support at the 3/8 one.
As we can see in the H1 chart, the pair has rebounded from the 0/8 level to confirm a possible growth. In this case, the instrument may break the 2/8 level and continue moving upwards to reach the upside border of the range at the 5/8 one.
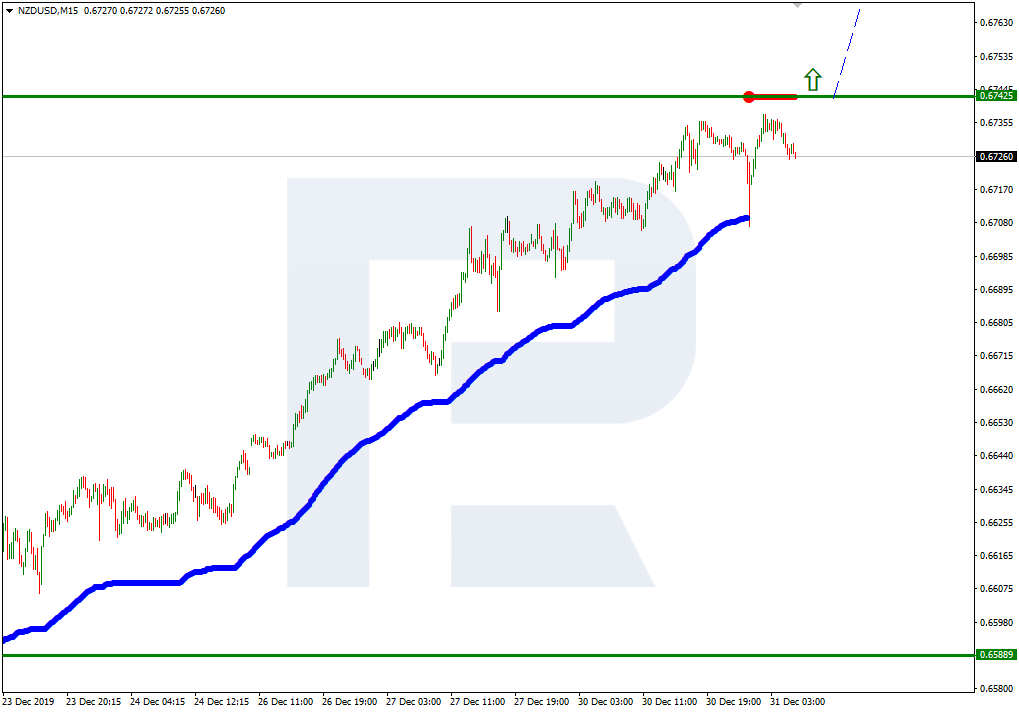
In the M15 chart, the pair may break the upside line of the VoltyChannel indicator and, as a result, continue trading upwards.